
PROTECT YOUR DNA WITH QUANTUM TECHNOLOGY
Orgo-Life the new way to the future Advertising by Adpathway
While searching for ways to bring order to the chaos of his basement, Miles came across the GearBlocks bike storage system and sliding unistrut bike hooks. Find his thoughts on the GearBlocks system and a look at a game-changing DIY tote storage system he made to further organize his stuff here…
Emily and I bought our first home last winter. She’s been preoccupied with painting walls and making the space feel cozy, and I’ve been slightly obsessed with getting all of our gear and bikes organized. The rental we lived in for over four years was fantastic, with more than enough room for bikes, camping gear, and the absurd amount of bikepacking bags I’ve acquired. However, we didn’t put any effort into organizing it.
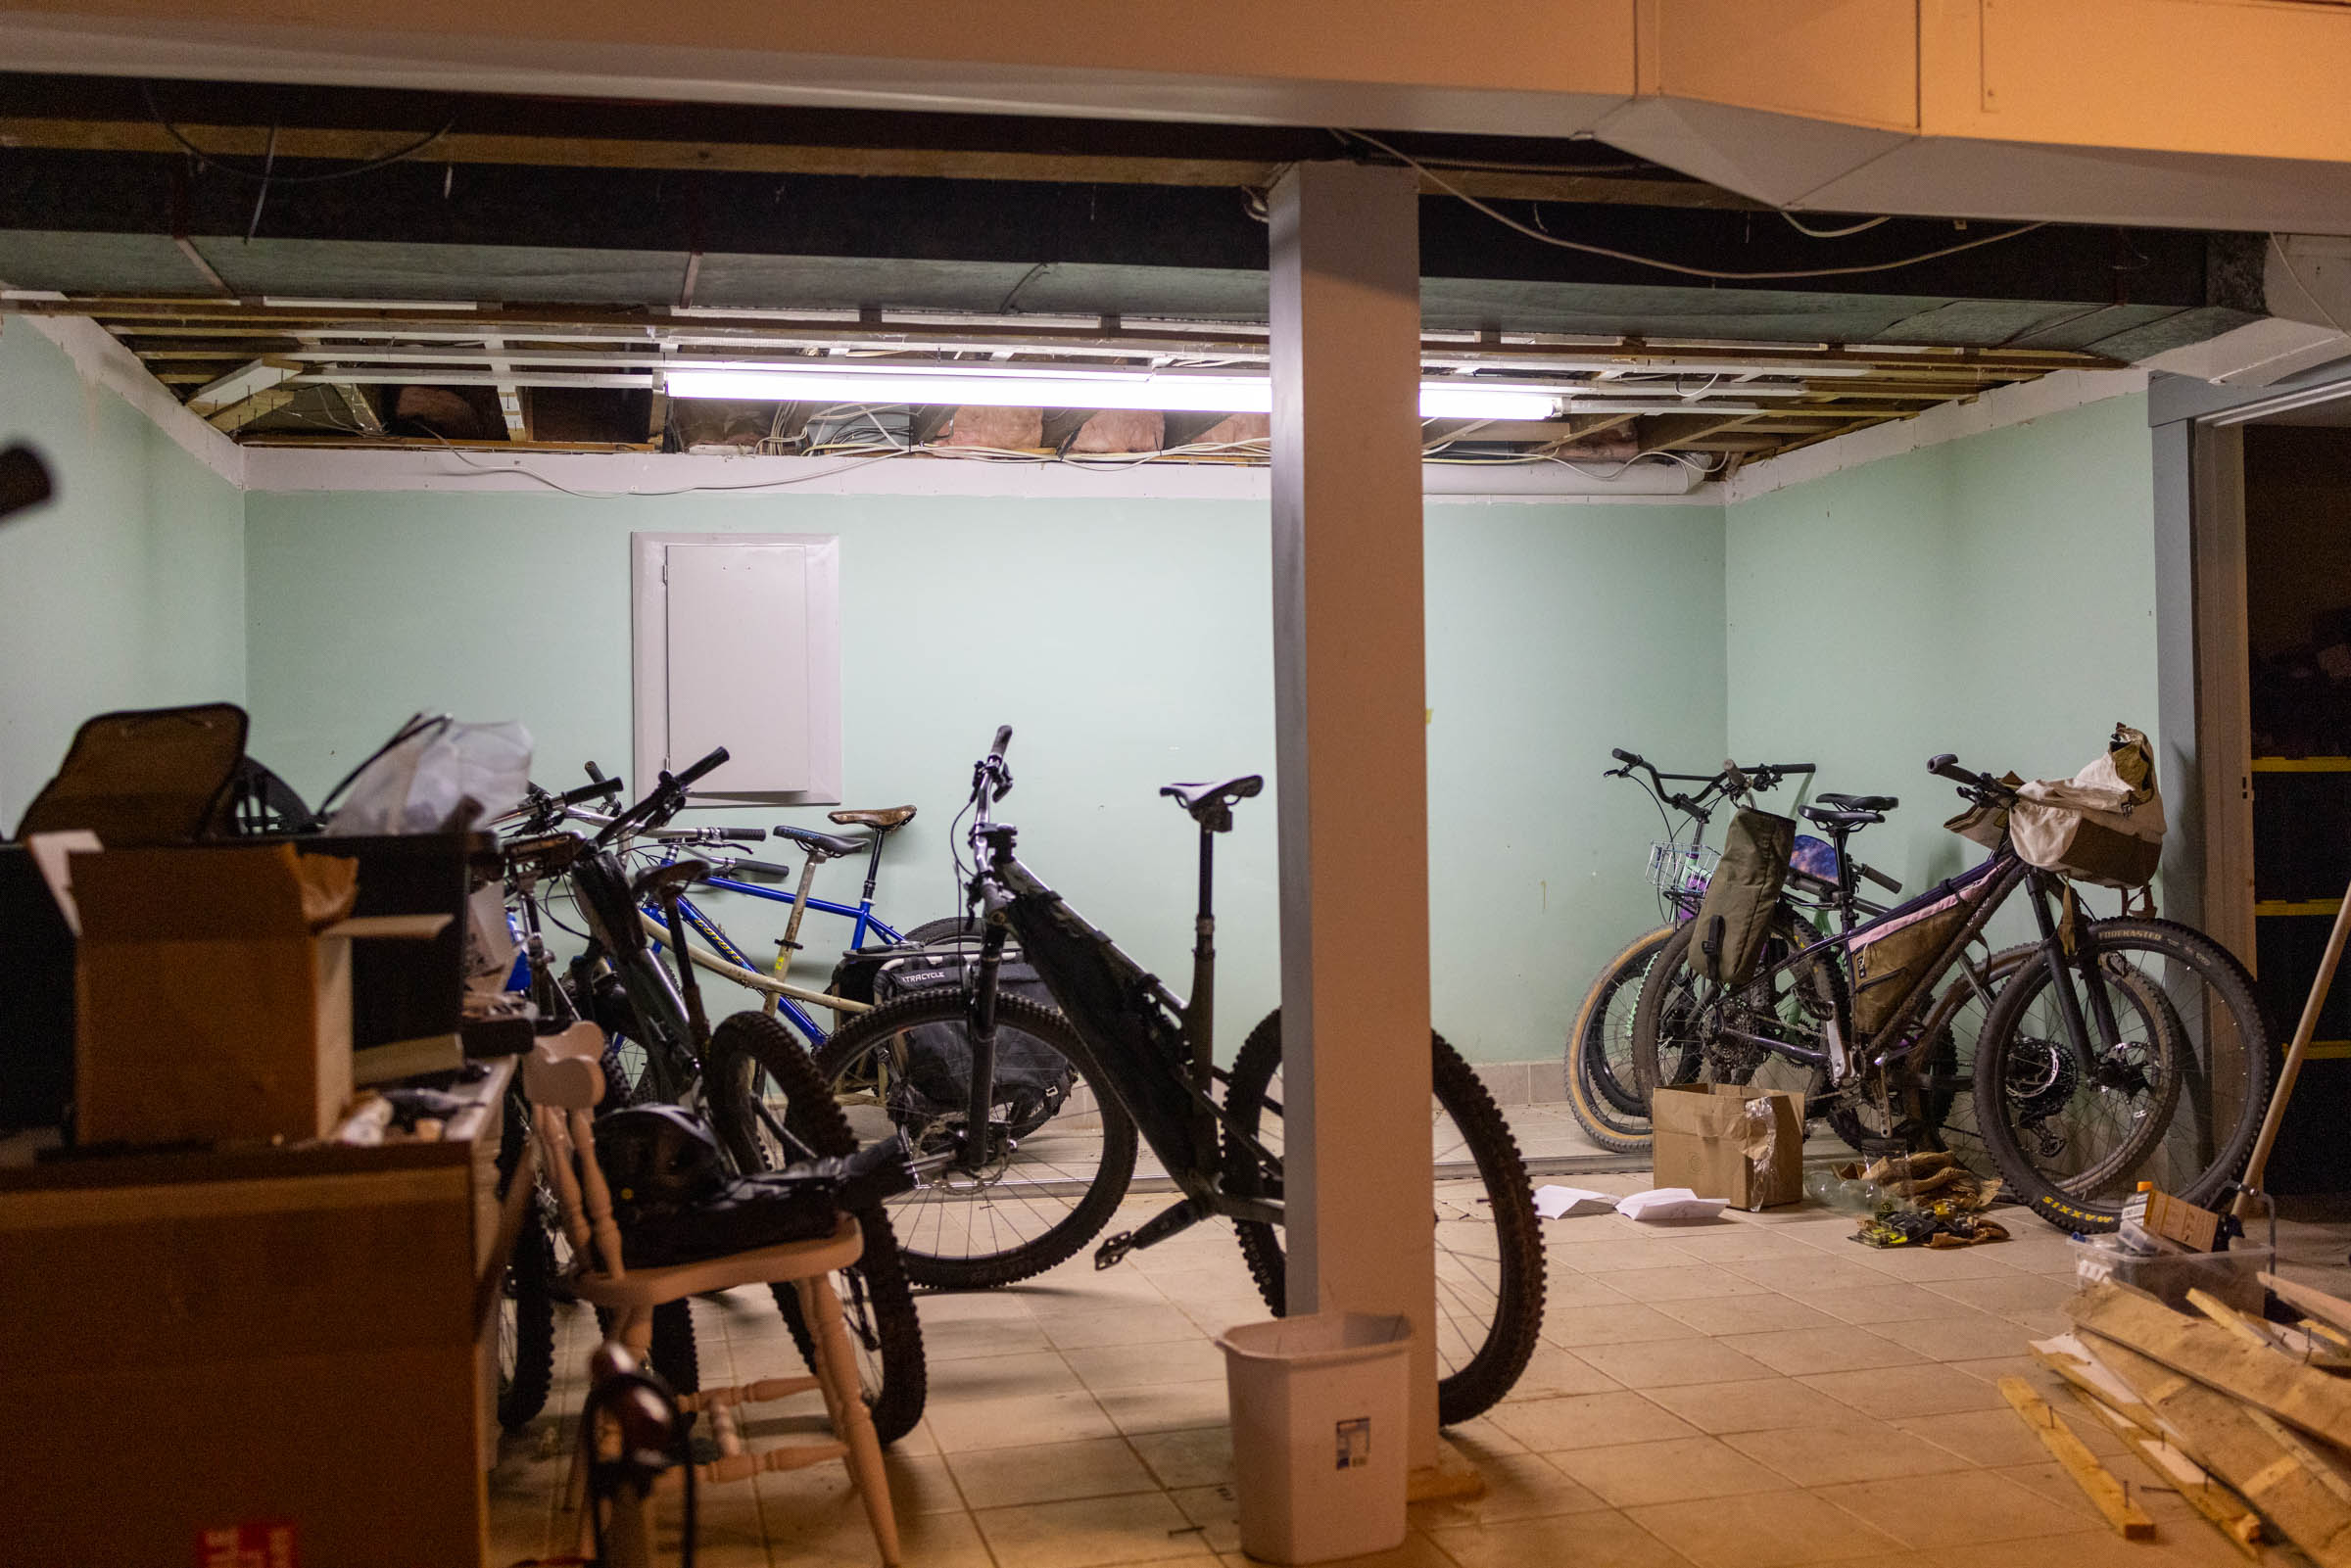
The reality of our gear room—a spare bedroom filled with hundreds of bags, racks, and other accessories piled on the floor—made prepping for trips difficult and stressful. Emily and I get along pretty well and have found our groove while bikepacking together, but that room was a breeding ground for tense moments. When we moved into our new home, I was excited to create a bike and gear storage solution that didn’t make me feel stressed just by looking at it.
GearBlocks to the Rescue
Brian Moran founded GearBlocks from his garage in 2020 after buying his first 3D printer. He used his mechanical engineering background to design products that support his love for cycling and bikepacking, started selling them on Etsy, and things took off from there. Currently, Brian sells some nifty bottle cage mounts for downtubes and forks, as well as a replacement Husky workbench crank. However, his best-selling products are his sliding bike storage hooks designed for Unistrut.
Using Unistrut channels to create a sliding bike storage solution isn’t a new concept. There are plenty of DIY videos and guides online, but Brian saw an opportunity to not only improve the design but also make it more economical for his customers. The GearBlocks bike storage system consists of four main elements: a Unistrut channel (not included), sliding hooks, end caps, and heavy-duty fasteners to secure the channel to the wall or roof. GearBlocks sells an optional hardware kit with 4x lag screws, washers, channel plugs, and a torx driver bit for $16, but most of these items could also be purchased from a hardware store, aside from the plugs. The sliding hooks start at $16 each. GearBlocks doesn’t sell Unistrut channel, so sourcing that from your local hardware store is up to you. I found my 10-foot length of 1-5/8″ Superstrut channel at Home Depot for $90 CAD. Brian suggests a 10-foot section of channel can hold up to nine bikes, so for around $250 USD, it’s possible to get everything you need to store nine bikes.
To offer a comparison, OneUp’s RS Slide, which I’ve also used, is only five feet wide, comes with four bike hooks, and costs $189 USD. There are some differences between the two designs, but OneUp’s design is also based on the same-sized Unistrut channel. As Brian puts it, GearBlocks’ approach is the most democratic. The DIY version Brian was inspired by uses a channel, storage hooks, and barn door trolley hangers, and ends up costing around $238 USD for eight bikes. The GearBlocks system starts to look pretty appealing when compared to other options out there. Brian has also been improving his hooks, starting with nylon glass-filled composite bodies, adding aluminum swivel options for maximum space-saving, and different-sized hooks to accommodate all ranges of rim sizes, right up to six-inch-wide fat bike wheels.

GearBlocks includes detailed installation instructions, but it’s pretty self-explanatory. It took just a few minutes to figure out where I wanted the channel, the space required from the wall to accommodate the bikes’ hanging angle, and to slide in some storage hooks. The ceiling joists helped determine where I mounted the channel, but I followed GearBlocks’ instructions for a semi-free-hanging setup, where the wheels of most of the bikes rest slightly on the wall behind. An unexpected benefit of having all your bikes hanging side by side is the ability to compare wheelbases at a glance.

Unlike the OneUp hooks, which use a spring-loaded design that doesn’t slide unless it’s weighted (by a bike), the GearBlocks hangers tend to wander when loading a bike. This was never really an issue, but it’s slightly more annoying when working around a fully loaded channel. The benefit of a long wheelbase is that the bikes don’t need to be lifted far off a wheel to reach a hook, making it a relatively effortless process. Once hanging, the bikes slide incredibly smoothly thanks to 6000-Z cartridge bearings, making it easy to push bikes out of the way to access the one you want. I’ve primarily been using the fixed hooks, but the swivel hooks are offered in all three sizes and rotate 360° around the base for even more space savings. It won’t be long before I upgrade all of my hooks to the swivel versions.
- Load Rating (Standard Hook): 35lbs (15kg)
- Load Rating (Large Hook): 65lbs (29kg)
- Load Rating (Fat Tire Hook): 65lbs (29kg)
- Place of Manufacture: China
- Price: $16+ USD (standard hook)
- Manufacturer’s Details: Gear-Blocks.com
Pros
- Smart way to store bikes and save space
- Uses readily available Unistrut channel that you buy yourself
- Bike hooks start at just $16 each, which isn’t much more than your standard hardware store screw-in hook
- Optional hardware kit and lots of info online make installation a breeze
- Bearings slide smoothly
Cons
- Hooks can slide around when loading, if you’re not careful
- Can feel busy and difficult to access with six or more bikes on a 10-foot channel
Wrap Up
Although the GearBlocks sliding bike storage kit won’t reduce the number of bikes in our basement, it has helped us reduce clutter and chaos. I appreciate the approach of purchasing readily available Unistrut channel, rather than GearBlocks buying and re-selling it themselves, as well as the slightly DIY-feeling nature that comes with a trip to the hardware store to use the well-designed hooks. There are DIY alternatives to the GearBlocks sliding bike hooks, but I wanted something relatively quick and easy, and that’s exactly what I got.
Bonus: A DIY Tote Storage System
Organizing the bikes was just one piece puzzle, but perhaps one of the more important projects I took on was finding a place for our ungodly collection of bags, tents, camping gear, and more. Emily and I don’t argue much, but a chaotic gear room is a good place for an argument to start. I looked at ready-made options and funky peg boards, but I eventually landed on a tote storage system as a way to store loads of gear but keep it organized and easily accessible.

I’ve done some carpentry in the past, including the buildout of my Ford Transit camper, but it’s been a while, and my tool selection isn’t great, so I was intimidated about getting started. That was until I found Ana White’s Free Tote Storage Rack Configurator online. This jackpot of a calculator uses the measurements of whatever totes you’re using from Home Depot/Rona to spit out a cut list and overall dimensions for your very own tote storage system. The blog-style resource also provides step-by-step directions to construct the storage system. After buying and cutting the wood, it only took me around 20 minutes to build it, and it was so easy.
Stay tuned for more basement workshop updates, budget finds, and tools that have proven useful as I continue to organize the space this winter!
Further Reading
Make sure to dig into these related articles for more info...
Please keep the conversation civil, constructive, and inclusive, or your comment will be removed.


 English (US) ·
  French (CA) ·
  French (FR) ·